Skip to content
Beginner’s Violin-Building Course Outline
My Order of Operations in Building a Violin/Viola, etc.:
- Secure the templates, either from personal design, an existing instrument, or drawings.
- Main template
- Arching templates
- Use the main template to make a 1 or 2-part corpus mold.
- Cut and install the blocks.
- Prepare the ribs, by planing, scraping, or sanding (or all three).
- Bend the ribs, using a bending iron, and install them on the blocks (several steps).
- Prepare, install, and shape the linings.
- Use a sanding board (or alternate method) to flatten the front and back of the garland
- Prepare the plate stock (book-match, glue, and flatten the inner side of both plates).
- Use the completed garland to establish the shape of the front plate.
- Cut the front plate exactly to size, including filing and sanding
- Front Arching and Graduation
- Begin the front outer arching, including the edge thickness.
- Complete the front outer arching, using the arching templates.
- Lay out and incise the f-holes
- Begin the inner arching and graduation of the front plate.
- Complete the graduation using a graduation map.
- Complete the channel, and the final scraping outside
- Cut and finish the f-holes,
- Install the bass bar,
- Shape the bass-bar
- Complete the inner edgework for the front plate
- Install the front plate.
- Lay out, cut, and install the front purfling.
- Complete the edgework and final channel shape
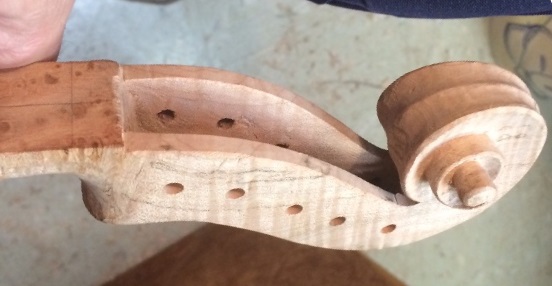
- Complete the neck and scroll. (several steps)
- Temporarily install the fingerboard.
- Set the neck
- Cut the neck mortise.
- Install the neck.
- Flatten the back of the garland, bringing the neck-heel flush with the back of the garland.
- Use the completed garland to establish the shape of the back plate, including the button..
- Cut the back plate exactly to size, including filing and sanding (not including the button)
- Back Arching and Graduation
- Begin the back outer arching, including the edge thickness.
- Complete the back outer arching, using the arching templates.
- Begin the inner arching and graduation of the back plate.
- Complete the back plate graduation using a graduation map.
- Complete the channel, and the final scraping outside
- Remove the 2-part corpus mold.
- Complete the inner edgework of the back plate
- Install the label.
- Install the back plate.
- Complete Varnish Preparation of the entire instrument
- Remove the fingerboard
- Complete the outer edgework on both plates
- Raise the grain and scrape all humps and hollows smooth
- Shape the edges to perfection
- Varnish the instrument. (several steps)
- Complete preliminary installation of the soundpost.
- Install the saddle and finish it.
- Install the end-button (or end-pin plug, in cello or double bass)
- Permanently install the fingerboard
- Dress the fingerboard
- Fit and install the nut
- Fit and install the pegs
- Fit the bridge.
- Complete the set-up of the violin,
- Adjust the height of the strings at the nut
- Adjust the height of the strings at the end of the fingerboard
- Adjust the “afterlength” (tailpiece position)
- Install the chinrest
- Play the instrument for final adjustment of bridge and soundpost for optimum playability, balance, and sound.